Due to many inquiry regarding my panel lining with Gold/Silver/Metallic color, I have decided to make this tutorial on fan service;)
Do take note that this is normally for straight builder like me but the same concept could be applied to painted build as well, only you would need to use different color bases :)
Do check out http://forum.lowyat.net/topic/1397850 for more in-depth information regarding painting ;)Section 1: PreparationOf course, you would need the metallic marker of your choice ;) I have here: -- LBX Gold+Silver+Gun Metal set (essentially quite the same with Gundam Marker),
- Gundam Marker Metallic Green,
- Gundam Marker Metallic Red,
- Artline Calligraphy Marker Gold, and
- Silver Permanent Marker gotten from bookstore.
You would also need the Mr. Hobby Paint Remover, and some tissues as well ;) Next of course the parts you want to panel line :P
 Section 2: Silver Panel Lining with 3rd Party MarkerNot necessary to use Gundam Marker... some 3rd party permanent markers also usable ;) Let start with the Silver marker :)
 Before panel lining...
 Panel line the detailing with the silver marker. Don't worry about the excessive paint ;)
 Soak the tissue with a bit of paint remover...
 Wipe the excessive paint with the tissue using light force...
 The excessive paint would be wiped off but the silver in the detailing would stay ;)
 Here's the close-up :)
 Section 3: Gold Panel LineI'm using the LBX Gold Marker for this demonstration ;)
 Before panel lining...
 Same thing, just draw along the detailing with the gold marker...
 Wipe off the excessive paint with paint remover on a piece of tissue paper...
 And here you go ;)
 Section 4: Metallic Red Panel LineGundam Marker Metallic Red would be in action here ;)
 Before panel lining...
 Again, just draw along the detailing with the metallic red marker... and making sure the ink flow into the fine lines ;)
 Wipe off the excessive paint with paint remover on a piece of tissue paper...
 Done ;)
 So guys, what do you think? Not too difficult right? Enjoy some innovation even with straight build ;)Until next time... Ciao!

 Actually, I have completed this kit some time ago but misplaced the initial batch of photos... I took apart this kit yesterday to sanp another set of photos in order to fulfill some request for me to review this kit ;)
Manufacturer: Gao Gao/TT HongliScale: 1/100Grade: NGOrigin: Gundam SEED Destiny Price: RM90 (Contact me at DuelMasterNG@yahoo.com for availability)Due to the bling bling finish, I did no panel lining nor additional coloring :P Section 1: RunnersMy apology, I've lost my initial batch of photos together with the runners photos. Until the next commission work on this kit, I am unable to snap those photos again :P
Section 2: The LegsPretty solid legs here with reasonable articulation of a NG kit ;) Snap-fitting nicely here. 


 Section 3: WaistPretty straight-forward build :) Front skirts and side skirts is moveable but not the back skirts. No snap-fitting issue detected ;)


 Section 4: ChestPretty standard for a NG kit :) The pull-out mechanism added more flexibility on posing ;) Snap-fitting nicely here.


 Section 5: ArmsPretty good articulations for a NG kit ;) The shoulder armor and the arms are in a single piece so it might hinders the movement a little bit...
 Section 6: HeadParts separations are nicely done ;)


 Section 7: Plain AkatsukiAkatsuki, without the weaponry and backpack ;)


 Section 8: WeaponryAkatsuki's standard weaponry ;)
Beam Rifle
 Shield

 Beam Sabers
 Section 9: Akatsuki with Standard Weaponry


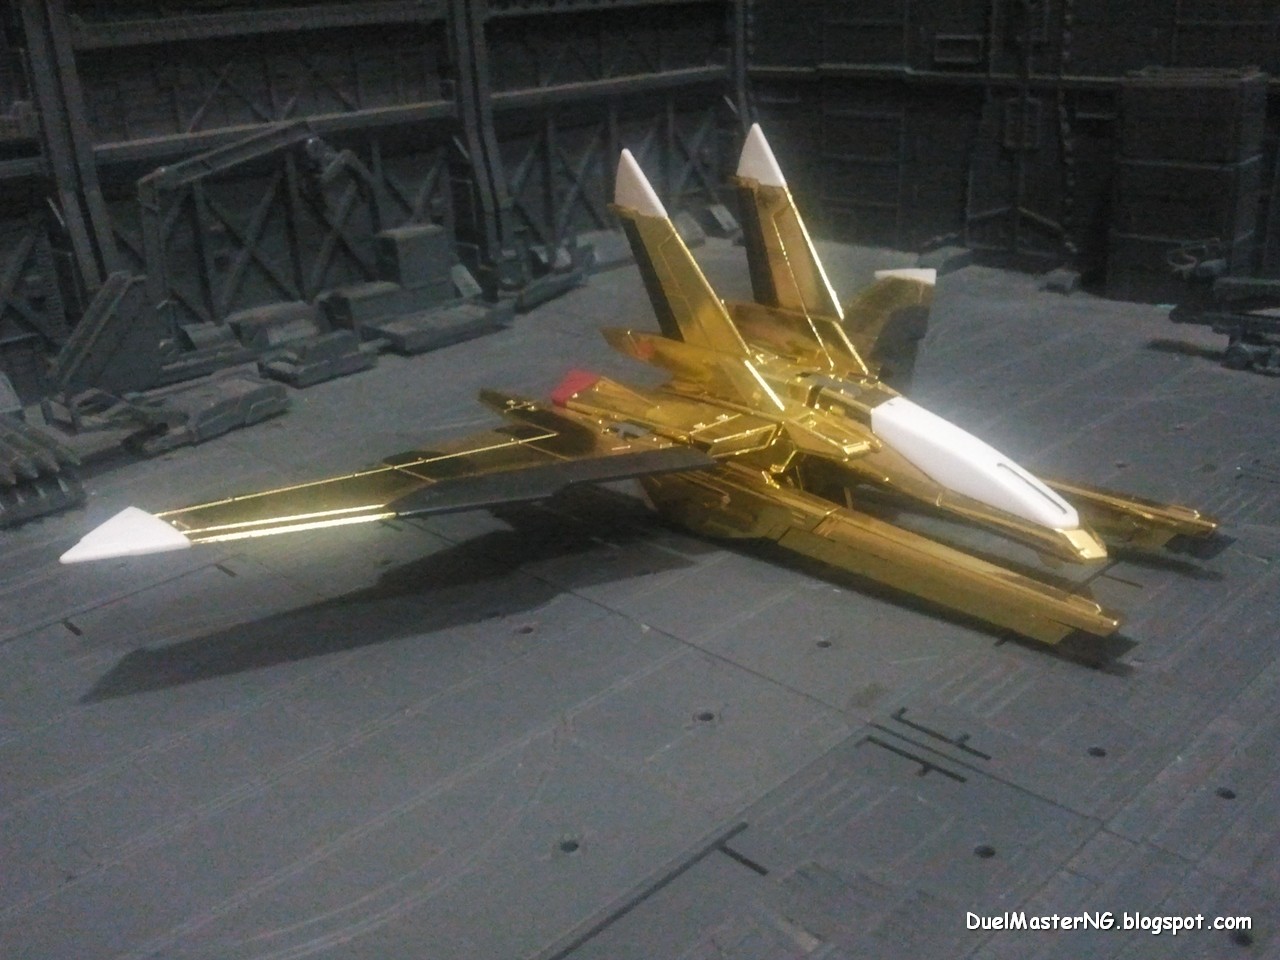
 Section 10: OOWASHI Pack Specialised backpack system made for atmosphere use, equipped with 4x jet engines and 2x rocket booster, and 2x Type 73F High-Energy Beam Cannon.


 Oowashi Akatsuki


 Oowashi Akatsuki with Twin High-Energy Beam Cannon


 Oowashi Akatsuki Posing with Infinite Justice ;)

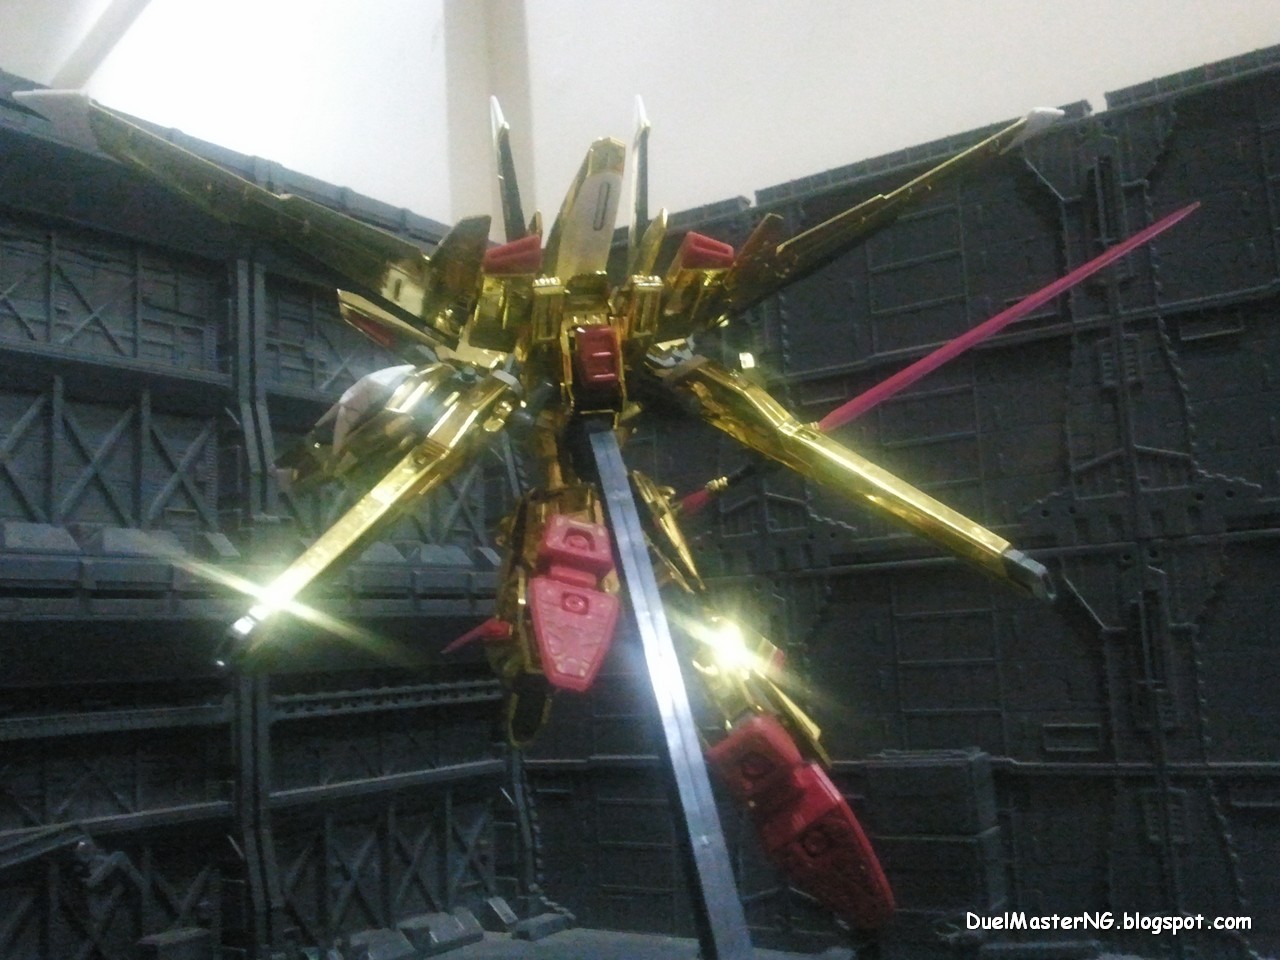
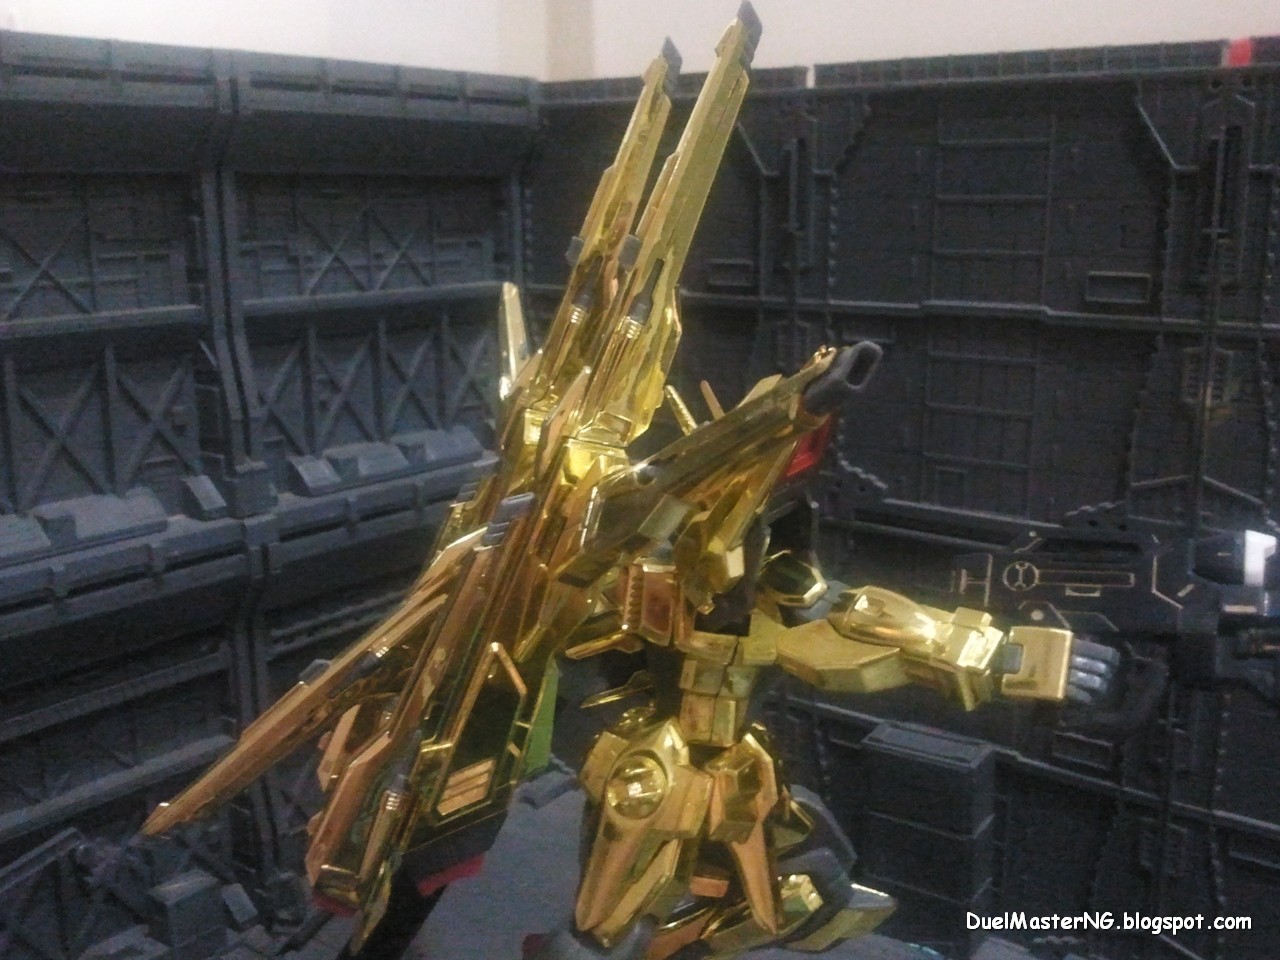
 Section 11: SHIRANUI Pack Specialised backpack system made for space use, equipped with 7x M531R Remote Control Beam Cannon Systems that are similar to the 1st generation Dragoon System.

 Shiranui Akatsuki


 Quick ReviewPlastic Quality and DetailingThe plastic quality is the usual of Gao Gao, and is better than initial TT Hongli quality ;) The detailing are not fantastics but it still comes close to 85% of the original, as Bandai's gold coating is still much more superior.
ArticulationsArticulations are the standard of a NG kit ;)- Head/Neck: Normal.
- Shoulder:Very good! Althought the Oowashi backpack and the shoulder armor might hinder the movement :P
- Arm/Elbow: Very good!
- Wrist: Normal-, a bit loose but not big issue.
- Hand: Normal. The NG fixed hand.
- Waist: Normal+.
- Skirt Armour: Normal+.
- Hip/Tight: Normal, due to its ball-joint...
- Knee: Normal.
- Ankle: Good.
- Feet: N/A.
Looks and FeelsThe detailing is pretty alright and come close to 85% of the original. The snap-fit is nicely done but same as most of the bootleg chrome/plating mecha, certain peg need to trim a bit ;)
Overall, this kit is pretty good and would be a viable replacement for the original if you do not plan to spend over RM240 for the original :PStill, for those of you who can afford, do buy original ;)Fin :)